It’s Day 4 in our 5-day kitchen cabinet spray-painting transformation — and this is the day that turns heads. If Day 3 was all about science (priming, sealing, and bonding), Day 4 is pure art. This is when colour meets craftsmanship and a dated kitchen officially starts to look brand new.
Today, we sprayed the final topcoat — and the results speak for themselves.


Step 1: Choosing the Perfect Finish
Our client wanted a bright, classic Canadian white — not too cold, not too creamy. We selected a high-performance, durable waterborne lacquer in satin sheen. Why this paint?
Furniture-grade finish: Factory-smooth, no brush strokes
Eco-friendly: Low-VOC and safe for indoor spraying
Durable: Resists chipping, yellowing, and moisture — critical for high-use Canadian kitchens
Elegant glow: Satin sheen reflects light beautifully without looking glossy
This isn’t “white wall paint.” It’s cabinet-specific, spray-grade topcoat, made to take daily wear in real family kitchens from Toronto to Vancouver.
Step 2: The Art of the Spray
Here’s where professional technique really shines:
We used an HVLP (High Volume Low Pressure) spray system, which atomizes the paint into a fine mist for even, smooth application.
Spraying took place in our sealed, dust-free mobile booth, already prepped back on Day 1.
Two coats were applied, with controlled drying time and light sanding between for the silkiest possible surface.
We don’t just “spray and pray.” Every pass of the spray gun is calculated — steady hand, consistent distance, perfect overlap. No drips. No orange peel. Just that flawless, factory finish.
Step 3: Final Sanding & Touch-Ups
Yes, we even sand after the topcoat (lightly):
Micro-sanding ensures ultra-smooth surfaces and removes any airborne particles.
Touch-ups were applied by detail gun in corners or grooves — especially important for shaker doors and trimwork.
Doors were placed on drying racks in a temperature- and humidity-controlled area to cure evenly.
Canadian Climate Tip: Paint Curing Isn’t Just Drying
In coastal cities like Vancouver, humid Ontario summers, or dry Alberta winters, curing isn’t just about time — it’s about environment. We manage airflow and humidity to help the finish fully bond and harden — so it doesn’t just look good today, but still looks good five years down the road.
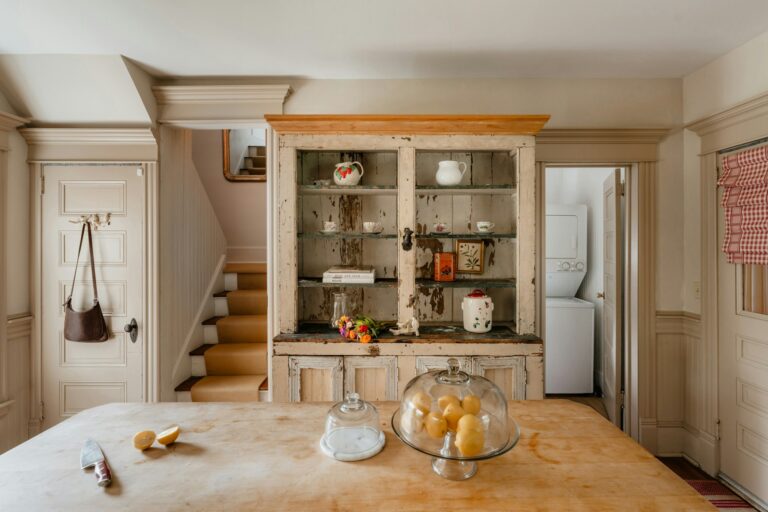
Before & After: The Whiteout Effect
Our client’s kitchen started as heavy, dark, and dated. Today, it looks:
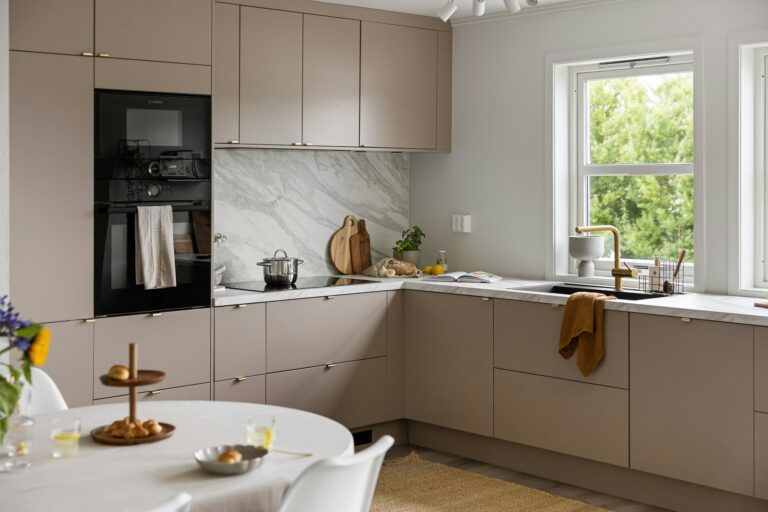
Bright, open, and spacious
Crisp white with buttery-smooth cabinet fronts
Custom-finished like new millwork — not just “painted over”
Swipe through Day 4 photos on [Instagram @yourhandle] to see how just the colour change modernized the entire space — even the countertops and backsplash look newer.
Want This Look in Your Home?
If you’re in Toronto, Mississauga, Calgary, Vancouver, or Ottawa, we’re booking 5-day spray-paint kitchen makeovers now.
This is:
✅ More affordable than cabinet replacement
✅ More durable than DIY chalk paint
✅ Faster than full renovations
📞 Request your free quote today and let’s bring your kitchen into the 2020s.